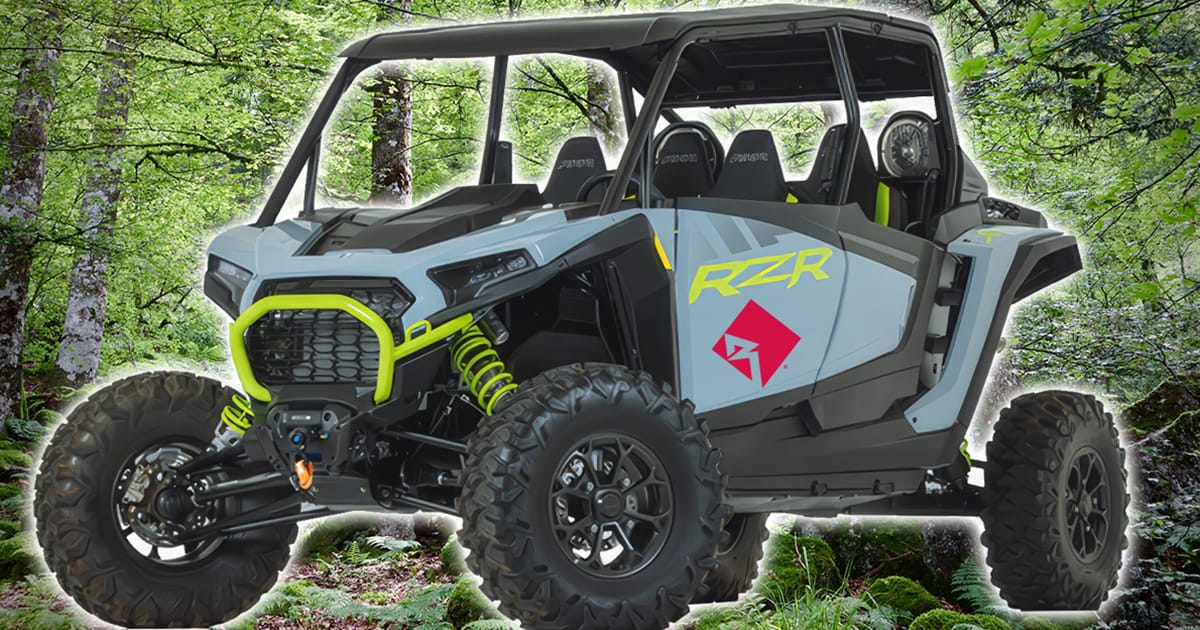
Factory-installed sound systems on side-by-side vehicles quite simply can’t keep up when the throttle is wide open. Even when cruising, they sound thin and weak. The mobile audio fanatics at Rockford Fosgate have just released a killer sound system upgrade for 2024 and newer two-seater Polaris RZR XP models. This 1,500-watt audio upgrade kit includes Color Optix illuminated speakers and is Element Ready to handle every challenge you’ll encounter from Mother Nature. Let’s check it out!
Electronics Included with the Rockford Fosgate RZR24XP-STG6
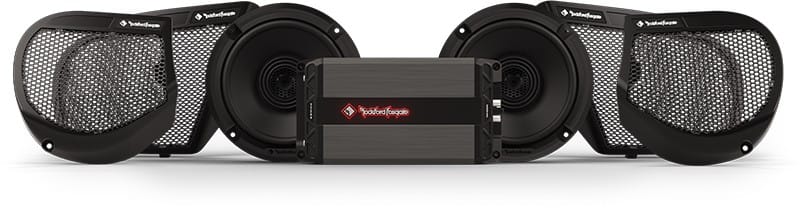
The Rockford Fosgate RZR24XP-STG6 audio system upgrade package begins with the impressive M5-1500X5 five-channel amplifier. This potent beast can deliver up to 1500 watts of power to ensure every word, beat, and note is reproduced with clarity and detail. The amp is Element Ready, so even if you’ll encounter a water splash from a creek, you don’t have to worry about it getting damaged. The RZR24XP-STG6 kit includes a 4-AWG amplifier wiring kit to ensure the amplifier receives all the necessary power from the battery and charging system.
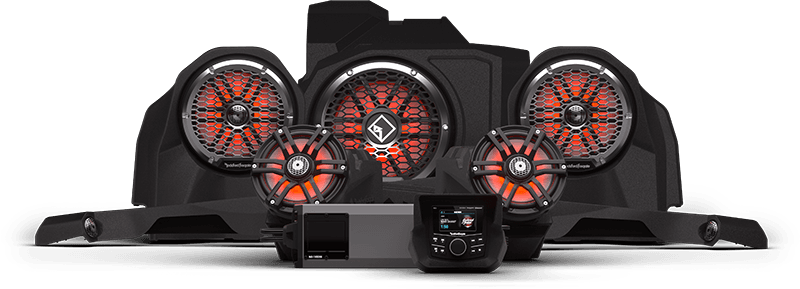
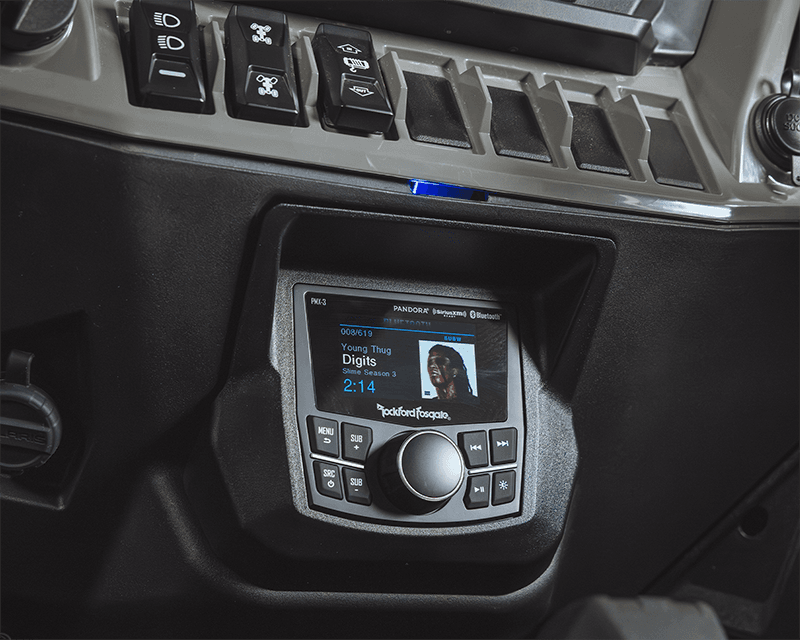
The kit also includes a Rockford Fosgate PMX-3 digital media controller. You can tune in to your favorite radio station, play music from a USB memory stick, or stream Spotify, Tidal, or Pandora from a smartphone using Bluetooth. You can even upgrade the PMX-3 with an SXV300 SiriusXM satellite radio receiver to ensure non-stop entertainment in even the most remote areas of the country. The audio upgrade kit includes an RZR24XP-DK radio mounting dash kit to ensure everything looks right at home in the dash.
Element Ready Speakers Handle Every Challenge
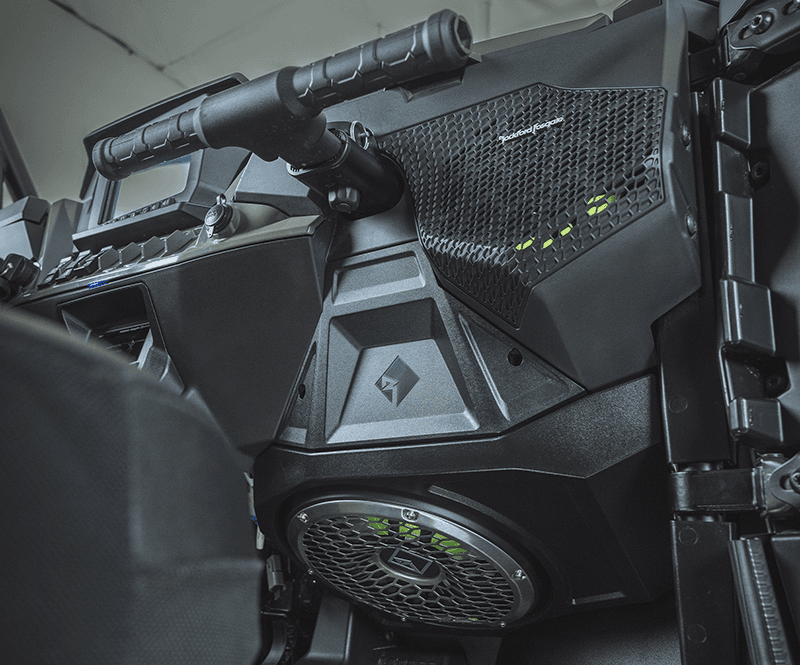
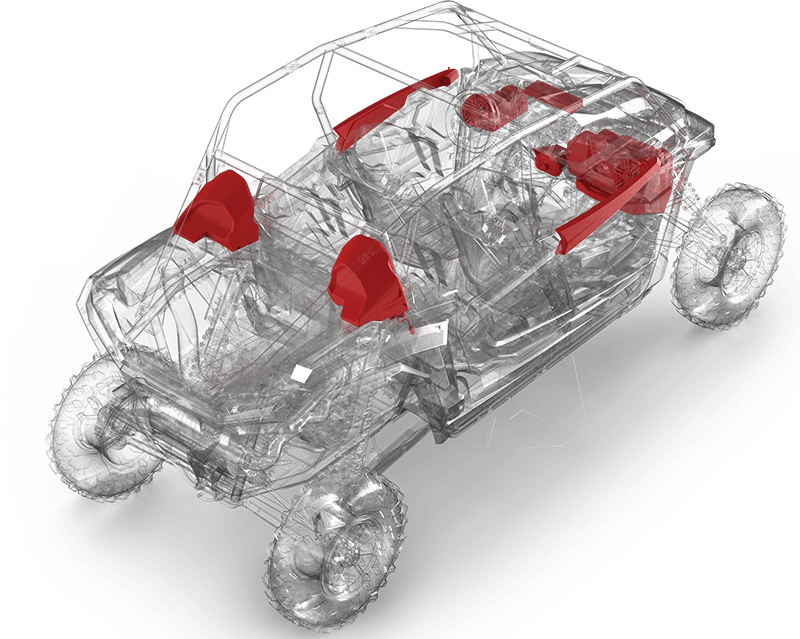
Starting with the front speakers, the RZR24XP-STG6 kit includes a set of RZR24XP-FSE front speaker enclosures, designed to fit at the ends of the dash. These enclosures house M2-65B 6.5-inch Element Ready coaxial speakers. Next, there is a set of newly designed front tweeter pods for the tops of the doors. Each pod features an M2-TS 1-inch marine-grade tweeter, ensuring you can hear the highs clearly while ripping down the trails with a helmet on.
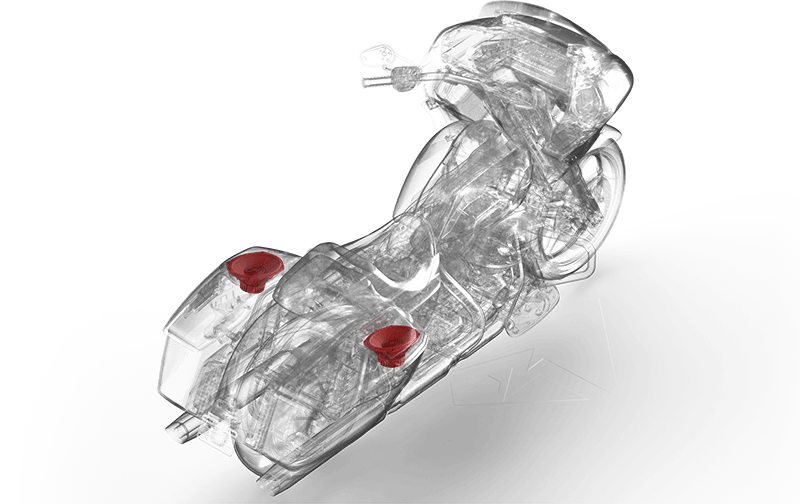
Finally, there is an RZR24XP-FWE subwoofer enclosure that mounts at the top of the passenger footwell. The enclosure serves as a home for the M2D4-10IB-G2 10-inch 400-watt subwoofer. The enclosure is ported to maximize efficiency and extend low-frequency output. However, Rockford Fosgate includes a port cap for the enclosure vent to seal it up when you plan on getting things really wet.
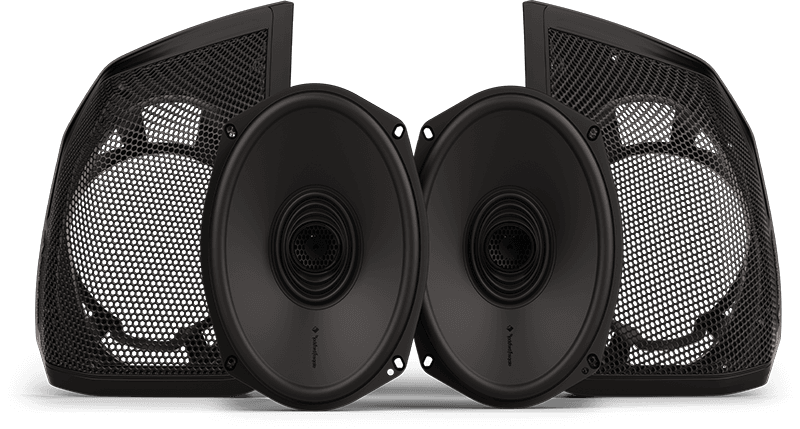
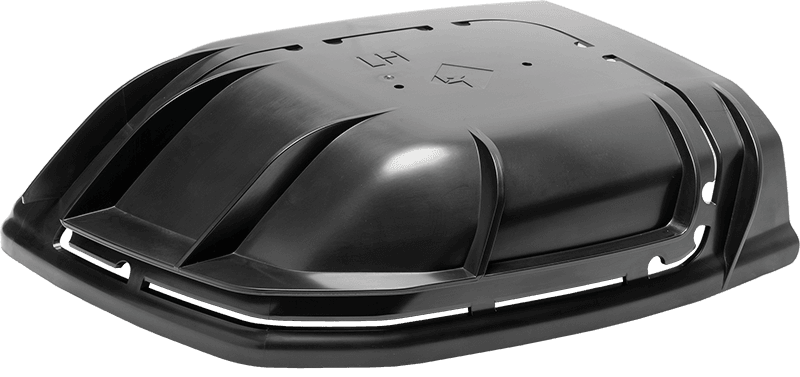
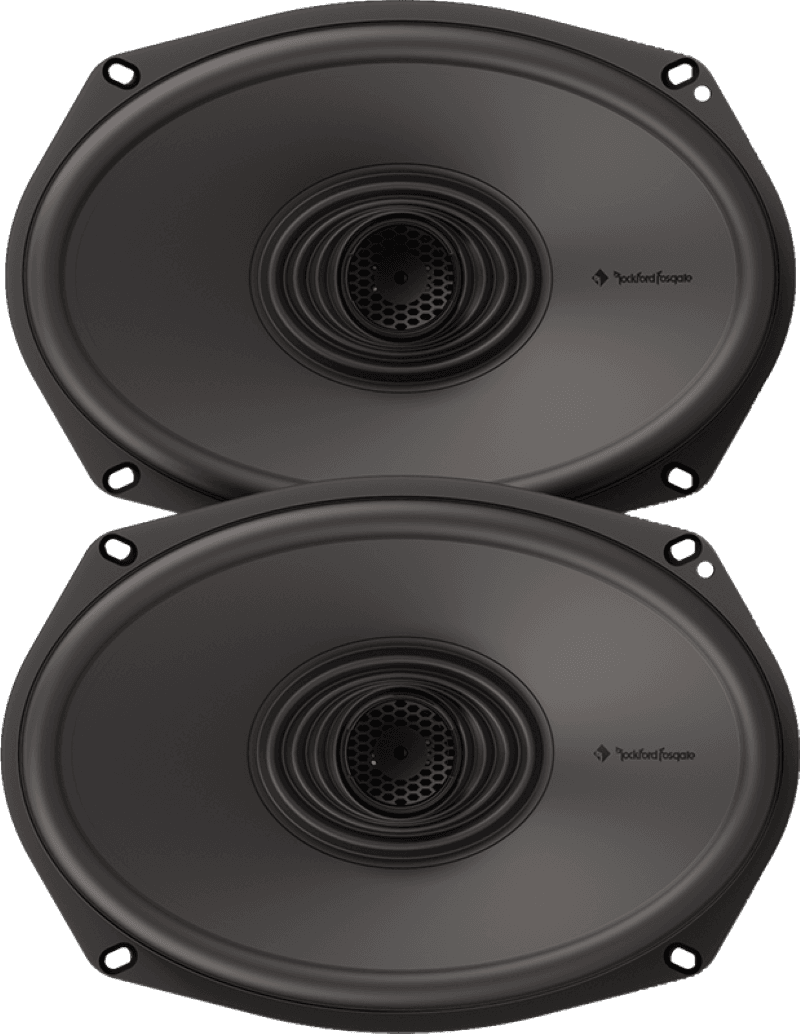
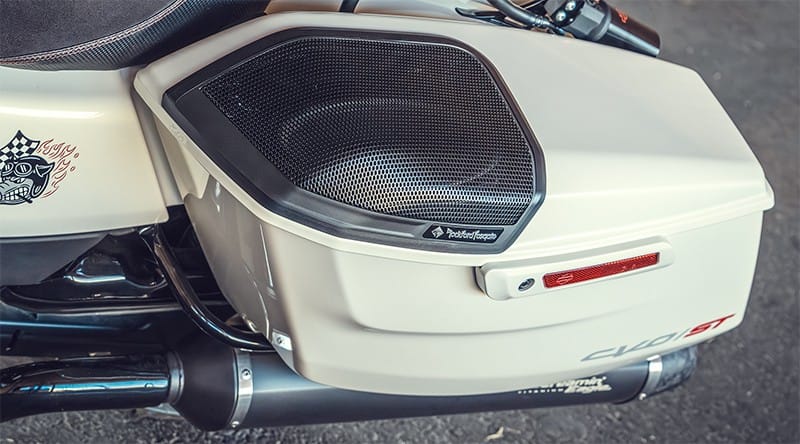
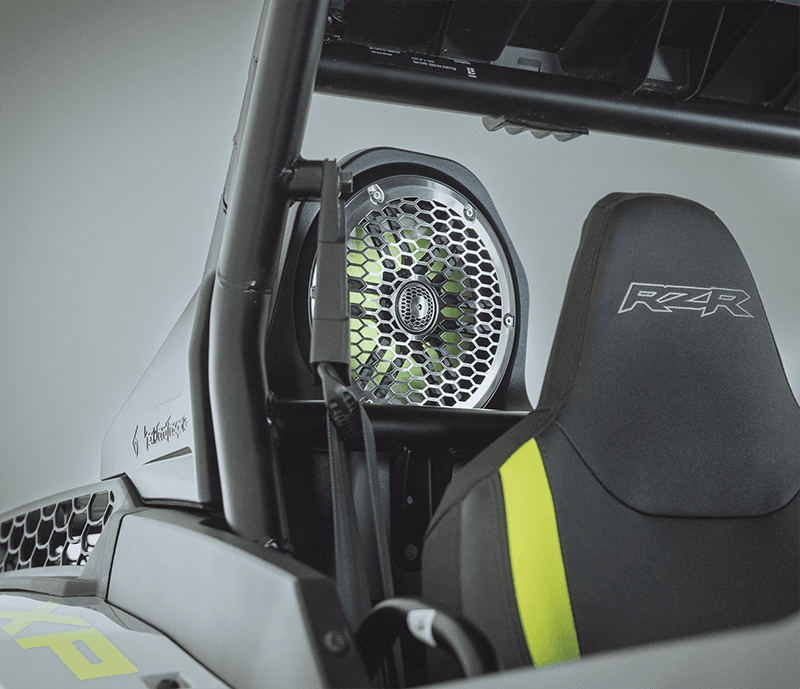
Moving to the rear speakers, the RZR24XP-STG6 features a pair of RZR24XP-RSE speaker enclosures that mount outside the storage area, behind the driver’s and passenger’s heads. Each enclosure houses a forward-facing eight-inch M2-8B marine-grade coaxial speaker. The enclosure design doesn’t interfere with Polaris spare tire carriers, coolers, or storage boxes that you might add to the back of your RZR XP.
Audio Kits Designed for Performance
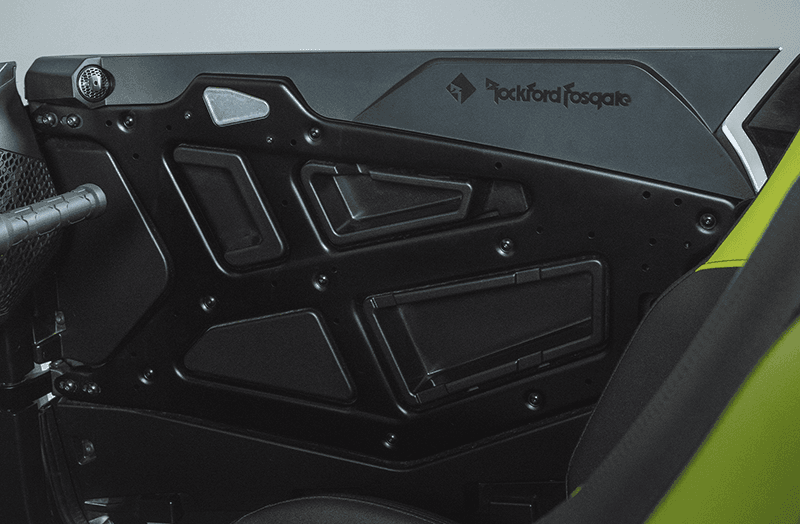
While integrating a premium amplifier, source unit, and speakers is fundamental to achieving great sound, Rockford Fosgate has gone above and beyond to ensure the components of the RZR24XP-STG6 kit not only look great but also do not interfere with the operation of your RZR XP. The materials used for the speaker pods won’t chalk, crack or fade, even after years of prolonged UV exposure. All the wiring for the speakers and Color Optix illumination is bundled to keep it protected and ensure the system performs reliably. Part of the Element Ready moniker Rockford Fosgate uses on its marine, motorsport and motorcycle audio upgrades includes vibration and impact testing. The pods, brackets, and wiring will stay securely in place, even on the roughest trails and jumps.
Ride Command Ready
Suppose your RZR XP is equipped with the Ride Command infotainment system. In that case, Rockford Fosgate offers a dedicated interface that works with the factory radio’s output, featuring the same speakers, subwoofer, amplifier, and speaker enclosures. This interface, included in the RZR24RCXP-STG6 kit, not only ensures the amp receives the proper signal levels but also prevents electronic pops and noises that are common when switching between suspension modes.
Upgrade Your Polaris RZR XP Sound System with Rockford Fosgate
If you are fortunate enough to own a late-model Polaris RZR XP, then the Rockford Fosgate RZR24XP-STG6 audio upgrade kit is a must-have to make your time on the trails much more enjoyable. Drop by a local authorized Rockford Fosgate dealer today to learn about making your next off-road adventure even more fun! Need to verify this new kit fits your model? Rockford Fosgate has a comprehensive Compatibility Chart on their product pages to ensure you find the right kit for your RZR.
You can find an authorized Rockford Fosgate retailer near you using the locator tool on their website. While you are online, be sure to check out their Facebook and Instagram feeds, along with the fantastic videos on YouTube.
This article is written and produced by the team at www.BestCarAudio.com. Reproduction or use of any kind is prohibited without the express written permission of 1sixty8 media.