 Wee-ooh, wee-ooh, honk, honk, honk, beep, beep, beep … Ah, the sweet melody of the modern car alarm. Vehicle security is big business. If you are worried about someone stealing your vehicle, visit your local mobile enhancement retailer and ask about a properly designed and installed vehicle security system. Before you head out the door, let’s take a look at the options for security systems and sensors, and talk about the importance of proper installation to ensure your car remains where you left it.
The Classic Car Alarm
 In most cases, a handheld remote control, also known as a key fob, will control your car alarm. These remotes use radio frequency signals to communicate with the control module in the vehicle. When you want to arm the alarm, press the Lock button on the remote and the system will respond almost instantly.
Remotes are available in many different styles. The simplest include a single button that toggles arming and disarming functions. A slightly more-elaborate remote may include dedicated locking, unlocking, trunk release and auxiliary output buttons. Many alarms are integrated with a remote car starter or vice versa. In these systems, one of the buttons on the remote is typically dedicated to starting the vehicle.
The Purpose of a Vehicle Security System
Quite simply, the purpose of an alarm is to monitor your vehicle for attempted theft or vandalism. When the system detects a trigger from a particular zone or sensor, it activates a loud siren. Depending on your vehicle, you can opt to have the horn honk and the parking lights flash when the alarm goes off.
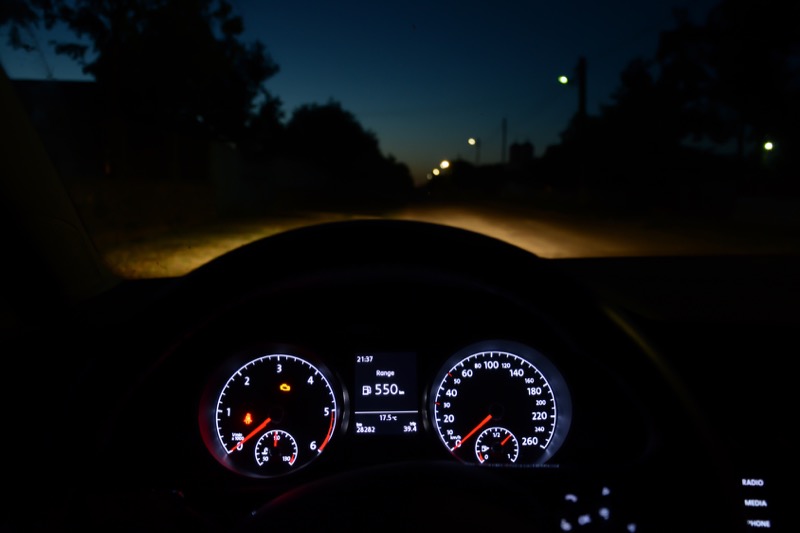
That infamous blinking red or blue LED in your dash is an indication to would-be thieves that you have taken measures to protect your vehicle and belongings. The knowledge that there is an alarm in the vehicle may be an adequate deterrent that convinces a thief to move on to a different target.
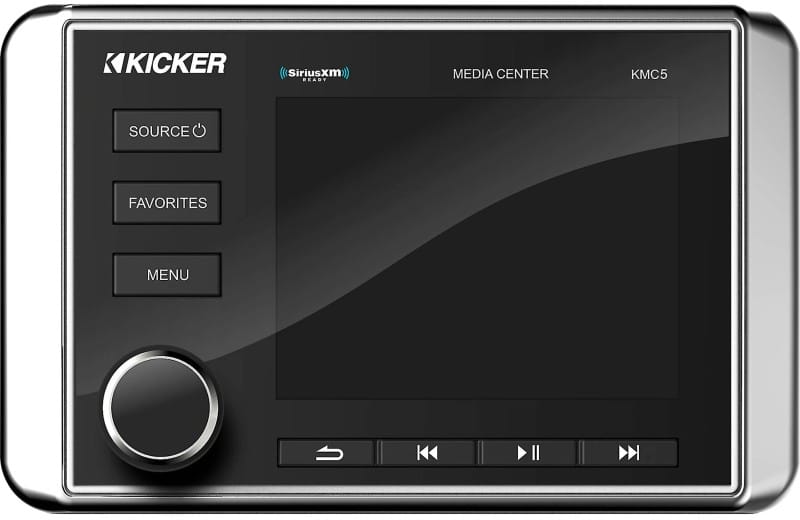
Remote Car Starter Functions
We mentioned that security systems are a popular option for a remote car starter. Some manufacturers offer a separate remote starter, security and hybrid (remote starter and security) systems. Other companies have designed their remote starters to accept a siren and shock sensor as options. This modular approach allows you to upgrade the system at any time.
Zones of Protection
Modern security systems are capable of monitoring several zones or sensors simultaneously. For example, your alarm will be connected to your door’s pin wires. These same wires signal the dome light to turn on when a door is open. If the system detects a door is open, it will trigger the alarm instantly.
Many security systems include separate inputs for hood and trunk monitoring. Your installer may choose to use a pin switch on the hood or trunk, or a mercury switch. If your vehicle has factory monitoring for the hood or trunk, those connections are often compatible with an aftermarket security system.
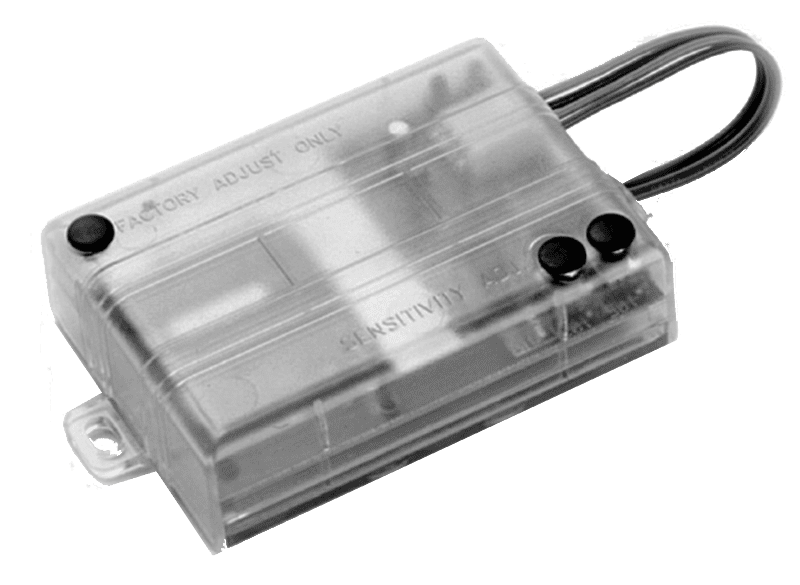
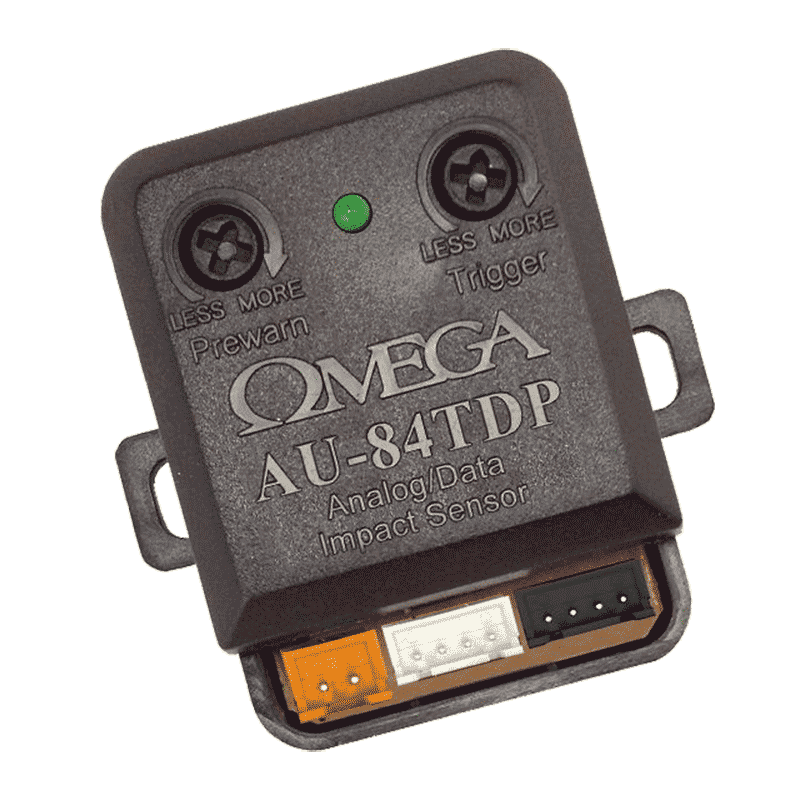 Every car alarm includes some form of shock sensor to detect abrupt impacts to the vehicle. There are many different designs for shock sensors. Some shock sensors work by suspending a small metal bead beside an inductor on a spring or rubber strap. Both allow the bead to move independently of the sensor housing. When the bead moves due to a shock or vibration, it induces a current in the inductor. The included circuitry determines the amplitude of the motion and decides if it should trigger the alarm.
Another method of monitoring shock and vibration is a digital accelerometer. The accelerometer communicates with the microcomputer in the shock sensor to provide information about vehicle movement. A benefit of this type of sensor is that it is almost impervious to changes in temperature. Most automotive-grade accelerometers function reliably from -40 to over 220 degrees with no noticeable change in accuracy.
Most security systems provide two levels of notification based on the signal from the shock sensor. A gentle tap on the vehicle will produce a warning that the vehicle is protected by a security system. This warning is usually in the form of a sequence of short chirps from the siren. The intent is for thieves to move on to a vehicle without extra protection. Of course, a sharp impact will trigger the alarm right away.
Optional Security Sensors
Many sensors are available to enhance the performance and coverage capabilities of a car alarm. Tilt-and-motion sensors can detect subtle changes in the angle of the vehicle to trigger the alarm. These are a great option if you want to protect a nice set of wheels or are worried about someone jacking up the vehicle to steal your catalytic converter.
 Glass-breakage sensors include a microphone and signal processing that is tuned to listen for the sound of a hard object hitting the glass. A firm tap with a key or coin is often enough to trigger these sensors.
Radar or field disturbance sensors are another popular option. These devices set up a radio-frequency field around the sensor. When an object moves into or out of the field, the alarm will trigger. These sensors are ideal for convertible vehicles and Jeeps where the interior is accessible without setting off a shock or motion sensor. The size of the field is adjustable, so your installer can work with you to decide the appropriate amount of coverage. Keep in mind that false alarms are very annoying.
Convenience Features
The most-popular convenience feature is door lock control. This feature is standard on almost all alarm systems. When you arm the alarm, the doors lock. Not surprisingly, the doors unlock when you disarm the alarm. Remote trunk release is another popular convenience feature. Most security systems have a dedicated trunk release output that automatically disables the shock sensor or disarms the alarm just before the trunk or hatch opens. If you don’t have a power trunk release, a solenoid can be added to most vehicles to mimic the function of the key.
Power window, sunroof and power sliding door control are also options. A great example of power window control would be to roll the windows up as soon as the system is armed. If you have a van with a power tailgate or a car with a motorized trunk, controlling it remotely is also a possibility.
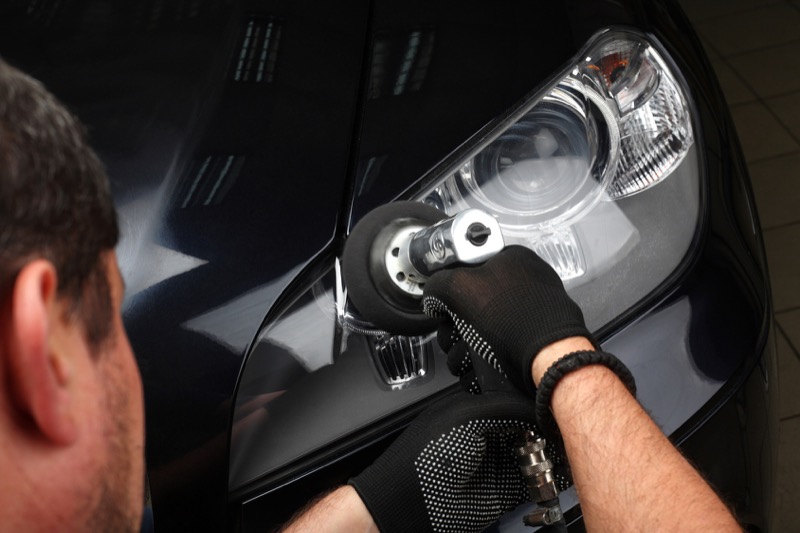
The Importance of Proper Installation
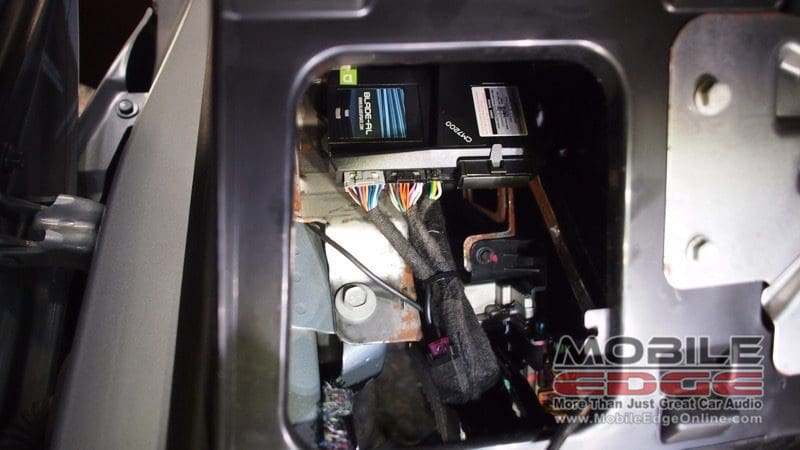
Just as with the installation of a remote starter, how a car alarm is integrated into your vehicle can have a dramatic effect on its performance and reliability.
Many new vehicles use computerized data networks to control and monitor functions. Door lock control, door and hood status (open or closed), factory alarm system control, and even horn activation are all done digitally through a vehicle integration module. These modules need to be configured by your installer for the specific make, model, year and trim level of your vehicle before installation.
Any electrical connections required to install your alarm have to be planned and executed carefully. An installer who would simply cut the starter wire under the dash and install a starter-cut relay has effectively labeled one of the connections a thief would need to hotwire a car. Hot-wiring a vehicle is nearly impossible on modern vehicles because most keys include a factory-installed security or immobilizer system. With that said, the placement of modules, sensors and relays shouldn’t attract attention to themselves. If they aren’t concealed properly, a thief has a much easier time bypassing your security system.
All wiring should be neat and tidy. All connections should be both mechanically secure and electrically conductive. Using harness wrapping materials like cloth tape, vinyl tape or split loom tubing that matches the factory wiring is a great way for your installer to conceal the security system.
Factory Security Systems
If you are looking at a new-car brochure, you will see that the wording chosen to describe the factory “alarm” has been picked very judiciously. Let’s look at a few examples. The Ford Focus includes a “Passive Anti-Theft Engine Immobilizer System,” the Honda Civic has an “Immobilizer Theft Deterrent System” and, finally, the Toyota Camry has an “Anti-theft System with Alarm.” The Camry brochure goes on to describe how the system works: “When you insert your key into the ignition switch or bring a Smart Key fob into the vehicle, the key transmits an electronic code to the vehicle. The engine will only start if the code in the transponder chip inside the key/fob matches the code in the vehicle’s immobilizer.”
Sounds pretty good, doesn’t it? Sadly, it isn’t hard to duplicate the code from those transponder chips. After all, if you lose your key or fob, there has to be a way to replace it. The hardware to clone a key can be acquired for around $100. You will also note that there is no mention of damage prevention or protection. Very few, if any, factory security systems include a shock sensor.
If your aftermarket security system includes a starter disable system, even with the factory key or fob, the vehicle will not start without disarming the alarm.
Preventing Vehicle Theft
 The cold, hard fact is that anyone with a flatbed can pull up in front of your vehicle, throw a hook around the frame and drag it onto the flatbed. In a minute, even with an alarm sounding, your car could be gone. An important aspect of ensuring your vehicle is safe is communication. If you know someone is tampering with your vehicle, you can look out the window to see what’s going on and call the police, if necessary. (Please don’t run out the door yelling and screaming – you don’t know if they have any weapons.)
Remote key fobs that can receive signals from the vehicle are a great option. When your alarm triggers, your key fob will vibrate and buzz to let you know something is going on.
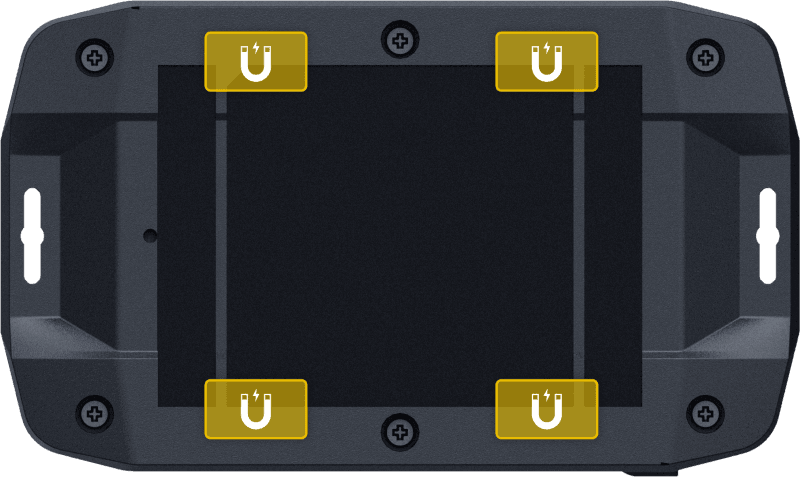
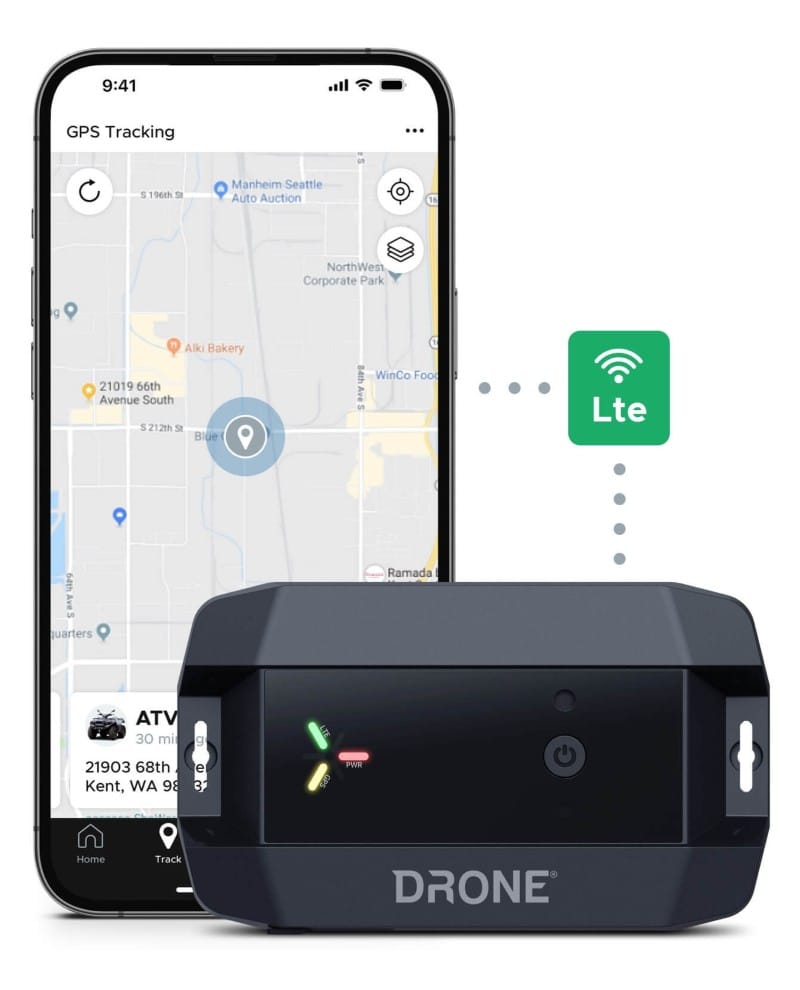
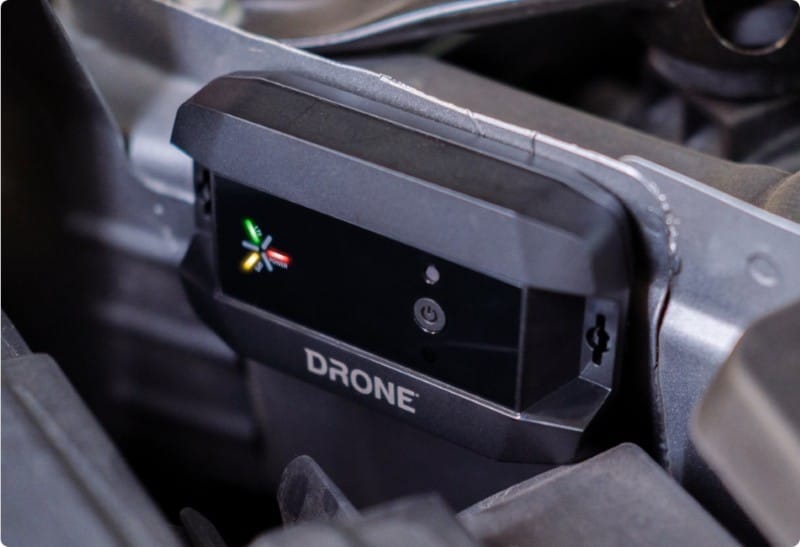
The next level of communication is a two-way cellular communication device. If your alarm triggers, your smartphone will notify you almost instantly. With cellular communication, there are no limits to the distance between you and your vehicle – you will always get alerts when something happens. These telematics systems also include the ability to lock and unlock the vehicle from the application on your phone.
Protect Your Vehicle
We could go on for days talking about the intricacies and details of automotive security systems. If you are concerned about vandalism or theft, visit your local mobile enhancement retailer to talk about adding an alarm system to your vehicle. They can suggest a solution that provides the coverage and features you want to keep your pride and joy safe and secure.
This article is written and produced by the team at www.BestCarAudio.com. Reproduction or use of any kind is prohibited without the express written permission of 1sixty8 media.